


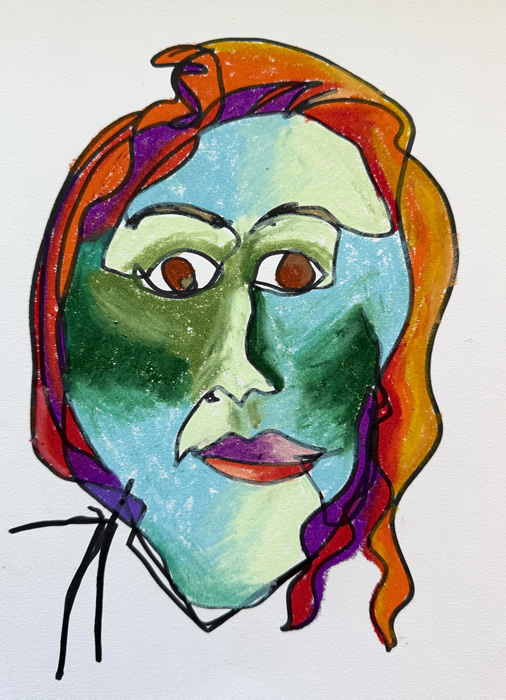
ART by Sophie
TED Therapeutic Art with Sophie*
Wednesday, October 7, 2026
1pm PT * 3pm CT * 4pm ET
1 hour
RSVP to Jacque art@tedcommunity.org
Art Prompt: The Light We Carry
As our days get shorter and hours of darkness increase, light can be a particularly meaningful metaphor. In our group today, we will create art inspired by the following quote by author Libba Bray: “We can’t live in the light all of the time. You have to take whatever light you can hold into the dark with you.” In your artmaking process, please consider, what is the light you carry with you? Create an image that represents something that brings you warmth, comfort, connection, or strength during difficult times. Your light could be a place, memory, person, object, feeling, phrase, or symbol. You may consider the role that light plays in your image as well, such as use of light colors or where the light source seems to be coming from in your image.
Suggested Art Materials:
Open ended. Use any art medium that feels supportive of exploring the concept of light, both metaphorically and visually. One idea to consider: Materials that support layering, such as acrylic paint or oil pastels, would allow for light to be added on top of darker colors.
Zoom Credentials:
Contact Jacque: art@tedcommunity.org
*Sophie Restall is an Art Therapist (ATR-P) and an Associate Marriage and Family Therapist (AMFT) with a passion for using creative expression to help people flourish.
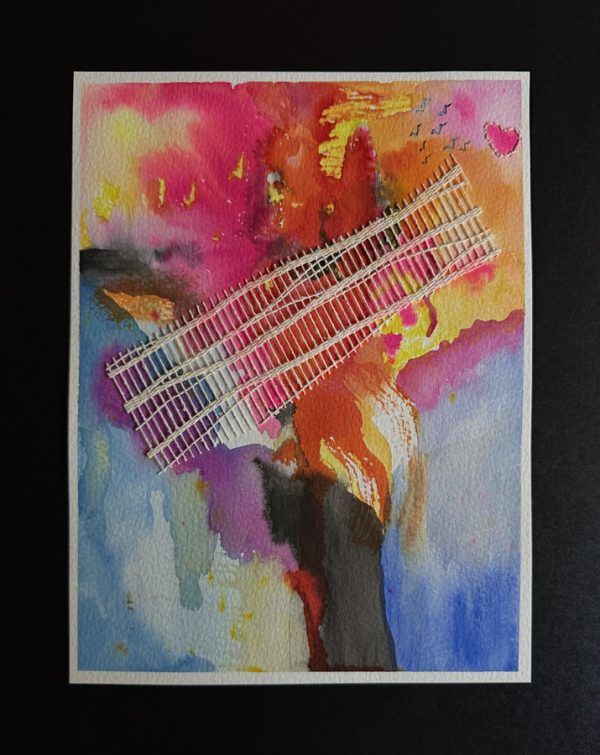
ART by Jacque
TED ART & Creative Studio with JACQUE*
Saturday, October 17th
1pm PST, 3pm CST, 4pm EST
1-2 hours
RSVP directly to Jacque for Zoom Log In: art@tedcommunity.org
Session Name: A Little Halloween Magic: Light, Laughter & Creative Spirit
Let’s have some fun and create a little Halloween magic together! In this session, we’ll make lightweight lanterns using a balloon as our base and wrapping it with toilet paper, yarn, string, or other materials. Once the base is dry, the balloon can be removed, leaving a festive form that can sit on a table or hang as a glowing lantern. We’ll create these together, step by step, enjoying the laughter, creativity, and Halloween fun along the way. Because there is some drying time, you may even have time to begin a second lantern during our session.
If you prefer, you can try an alternate pumpkin method using a plastic grocery bag filled with crumpled newspaper, paper towels, tissue paper, or recycled packing paper. This creates a softer, sculpted pumpkin shape that can be wrapped, decorated, and displayed as a lighted pumpkin or seasonal lantern.
Once your base is formed, you can wrap it with toilet paper, yarn, string, or other materials to create a lightweight lantern/light/pumpkin. When dry, you can sit it on a table, or hang as a lantern, and add a small battery-operated tea light or fairy lights.
There is no one “right” way to make your lantern, light, or pumpkin. You can decorate your piece in your own creative style — playful, spooky, elegant, or meaningful — using colors, textures, stems, leaves, fabric scraps, ribbons, and battery-operated lights.
Optional silhouette designs: A link to a few printable Halloween silhouette options is included below if you’d like to add one to your lantern or use for inspiration.
Meaningful connection:
These lanterns and pumpkins can represent your creativity, strength, humor, hope, and spirit — bringing a little light, color, and joy into the season.
Option 1: Balloon Base
Best for: A rounder, lighter form.
Basic process:
- Blow up a small round balloon to the size you want your lantern/light.
- Tie the balloon tightly so it does not deflate while you are working on your project. Yes — this happened to me!
- Tear the toilet paper into sheets or smaller pieces. Working in sections, brush the glue mixture onto the balloon, place a piece of toilet paper over the glue, and brush more glue mixture over the top. Continue until the balloon is completely covered, then repeat with another layer.
- Let it dry as much as possible during the session. Drying time can vary depending on the materials used and the number of layers added, so some pieces may need extra drying time before the balloon is popped and removed. A hair dryer may help speed up the process.
- Add four layers of toilet paper over the entire balloon, allowing the piece to become sturdy enough to hold its shape. More layers will create a stronger lantern, but they may also require more drying time.
- If you are using a silhouette design, print your stencil and trace it onto black construction paper or another color of your choice. Cut out the design, brush the glue mixture onto the area where you want it to go, press the silhouette in place, brush glue mixture over the top, and add another layer of toilet paper.
- Let everything dry completely before popping and removing the balloon. Decorate your lantern and add fairy lights or a battery operated tealight, and other embellishments.
Base Option 2: Plastic Grocery Bag & Newspaper Base
Best for: A softer, more sculpted pumpkin shape that does not require a balloon.
Basic process:
- Take a plastic grocery sack or lightweight plastic bag.
- Fill it loosely with crumpled newspaper, paper towels, tissue paper, or recycled packing paper.
- Shape it into a pumpkin form.
- Twist or tie the top of the bag closed.
- Use rubber bands, string, or yarn around the outside to create pumpkin ridges.
- Wrap the form with toilet paper, yarn, fabric strips, or other materials using glue or Mod Podge.
- Let it dry and decorate in your own creative style.
Suggested Supplies:
For the Balloon Lantern Option
- Round balloons, 12” – 18”
- Glue or Mod Podge mixed with water, about 50/50
- Toilet Paper
- Yarn, string, or fabric strips (optional)
- Sponge brush or paint brush
- Bowl, vase, cup, or small container to hold the balloon while working
- Bowl or disposable container for the glue mixture
- Garbage bag, plastic table cover, or shower curtain liner to protect your work surface
- Paper towels or wipes
- Hair dryer (optional)
- Clip, clothespin, hanger, or string, optional, for hanging the balloon while it dries
For the Alternate Plastic Bag Pumpkin Option
- Plastic grocery bag or lightweight plastic bag
- Newspaper, paper towels, tissue paper, or recycled packing paper for stuffing
- Rubber bands, string, or yarn to create pumpkin ridges
- Toilet paper, yarn, fabric strips, or other materials for wrapping
- Glue or Mod Podge mixture
- Sponge brush or paint brush
For Decorating Either Option
- Acrylic paint/Acrylic paint pens
- Construction paper or cardstock
- Black construction paper or cardstock for silhouettes
- Pencil or marker for tracing
- Scissors
- Ribbon, leaves, stems, twigs, pipe cleaners, raffia, fabric scraps, glitter or other embellishments
- Battery-operated tea lights or fairy lights
*Jacque Boogher is the Director of TED ART & Creative Studio, a TED patient, and the highly talented leader of our monthly TED ART sessions as well as our special projects.